Monday, January 14, 2013

Power, Rebirth, History, Family, Love & Adventure!

"But human experience is usually paradoxical, that means incongruous with the phrases of current talk or even current philosophy."
~George Eliot


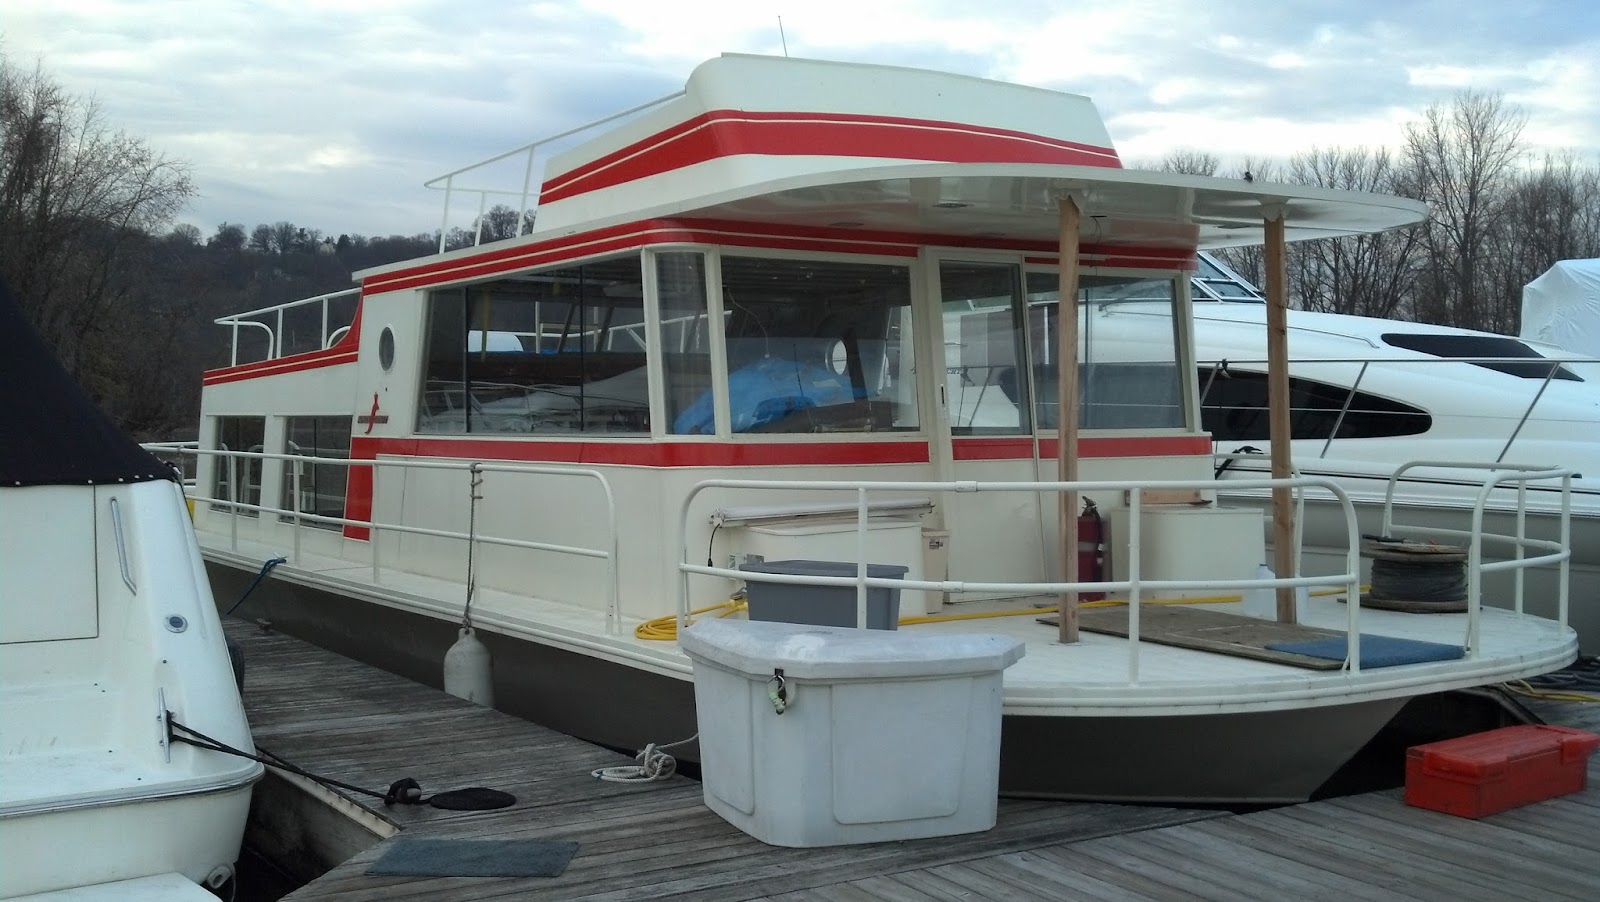
Welcome back to the continuing saga of the Old Ship's Wheel...and the renovation of my beloved KingsCraft houseboat.

After introducing the romantic idea of the Old Ship's Wheel on my blog, I received lots of feedback:
  • PLEASE tell me you bought it! [Ann]
  • It might have been Christopher Columbus's!! He sailed the ocean blue! Or it might have come off the Titanic! Oh wait, that was 1920's? 30' or 40's. I have to re read my history book! : )  [Julie]
  • You need to buy that wheel!  [Clive]
  • How cool is that?  [Kathy]
  • I think you need to buy the wheel and hang it on a wall or something as decoration. Your boat is beautiful and sleek....Keep the modern steering wheel and buy the old one as a gorgeous decorative piece. i've been thinking about it...I'd offer half what they are asking and see if they counter offer.  [Ann]
  • Funny thing.... I do not like the wheel and was glad you did not get it.  [Niki]
  • I like Ann's idea.  [Cheryl]
  • I say if you love the wheel and it fits in your space then you should buy it. It will add character and be a very cool conversation piece. Who cares if the rest of the boat is brand new. The old wheel has a very cool spirit and should be back on the water!  [Mary]
  • I say go for it! Buy the wheel! [Ashley]
  • I love the wheel...but it seems incongruous with your sleek mod boat. Just a thought but what if you take a b/w picture of it and hang the pic in your boat? [Lauren]
  • The wheel is too big for your boat.  It will get in the way of the controls. [Jerry]
  • Orin thinks it would be pretty cool for you to get that antique wheel for your boat.  [Lisa]
The spectrum of responses to the Old Ship's Wheel made me feel even more certain that this wheel belonged on my boat.  Then came the response that sealed the deal:  
  • I have wanted to help you in some way in rehabbing your boat. I would like to buy the wheel for you. You can Take time to make the decision to use it to steer or as decoration then and not worry about it being bought by someone else. [Kathleen]
The day I saw the Old Ship's Wheel, it caught my eye and I snapped a few photos.  I didn't think much else of it, right away.  But as time passed, it continued to find it's way to my thoughts.  The romance of the Old Ship's Wheel grew.

And now that it has been purchased as a gift for me by a member of my "chosen family," it is even more special to me.  Thank you so much, Kathleen Novicki & family! 

That is the magic that is Empress Bennu.  
Power and ReBirth, steered and guided by history, family, love & adventure.  

We have also made great progress on the ceiling--I think it is going to be stunning!

Just for fun, let's look at the original ceiling once again:


And here is the ceiling now (the ceiling is still not finished, but you can see the progress):


----------------------------------------------------------------------------


------------------------------------------------------------------------------------------
This is what a bisection of the coffers, this is what they would look like:

I am so happy with how the ceiling looks!  Just yesterday, I had some visitors at the boat.  Some people bought a 40 foot, 1972 KingsCraft, and while searching for information online, they discovered my blog.  They were interested in seeing the things that had been done so far.  When they walked in and saw the ceiling, I heard an, "Oh wow."  Now I have heard that before, but in the past, it was more like, "oh wow...this is quite a project," or "oh wow, you are brave for taking this on."  It was very nice to hear a simple, "oh wow."

She's getting close now.  I hope to move aboard in May, and explore the river together this boating season.
  

Wednesday, January 9, 2013

The Old Ship's Wheel and the Captain

"I must go down to the sea again, to the lonely sea and the sky; and all I ask is a tall ship and a star to steer her by."
~John Masefield

Exciting news!  Today I received confirmation that my application has been approved and my Merchant Mariner credential has been issued and is in the mail.  Translation: I am finally, officially a United States Coast Guard licensed Captain!

And progress on the boat continues.  The boards for the coffers on the ceiling have been stained and are on the boat ready for installation.  I love the color, and I cannot wait to see what they look like assembled.

The color is exactly what I was hoping for.  To see what it would look like, I held it against the ceiling:


I think the ceiling is going to be spectacular!

So...last weekend I was browsing an antique store.  While browsing, I ran across this old ship's wheel (circa 1800s):


I think it is absolutely beautiful, and I love the mental images it conjures:  a storm-tossed ship in 1824--the captain's gloved hands gripping the wheel tightly to bring his vessel safely into harbor.

I didn't buy the wheel--I walked away.  Just as it is still sitting in the antique store, it also still sits in my mind.  I really love the idea of bringing this old wheel back into service on my boat.

I called the store and had them take some measurements.  The radius of the old ship's wheel is 20.5 inches (so, 41 inch diameter).  The wheel that is currently on my boat has a radius of about 11.5 inches (diameter of 23 inches).  My contractor feels the old ship's wheel is much too large for my boat.

...but I still couldn't get this wheel out of my mind (I call it determination--some call it obsession).  Today, while I was on the boat to see the color of the beams for the ceiling, I decided to try to build a model of the wheel so that we could see how it would look installed.

I looked around to see what materials I could find.  I found some scrap styrofoam and wide, yellow painting tape.  Perfect!  When I told my contractor what I had done, he replied, "you are truly crazy."

I know.

Anyway...here you can see the current wheel, and next to it is my very artfully crafted, very fancy model of how the old ship's wheel would look.


Here they are side-by-side.  The yellow tape circle represents the wood circle of the old ship's wheel.  I still think it would be absolutely beautiful, and I would love for this captain's gloved hands to grip the wheel, steering the vessel to safety.  We just need to be sure the wheel would not block the controls of the boat.


Dreaming of this boating season, on the great Ohio River in this tall ship, looking at the stars with the old, worn wood of this beautiful wheel in my hands steering my vessel wherever I want to go.  I think I need to buy the wheel...

Sunday, January 6, 2013

Adventure: Oceans & Itches...

"One way to get the most out of life is to look upon it as an adventure."
~William Feather

"Only those who risk going too far can possibly find out how far they can go."
~T.S. Eliot

As work progresses on the boat (and my bank account shrinks), I am getting more and more excited about the prospect of living aboard.  Strangely, I also find myself questioning my choice.  Maybe this is just a symptom of my noncommittal condition. 
As I think about life: the joys, the adventure, all the things waiting to be discovered and savored, I wonder why I choose to keep all the anchors I have created.  A part of me (a growing part) wants to pack everything up and head to the ocean.  My KingsCraft is not an ocean-going vessel... 

Maybe I should quit reading books like: 
Or, maybe I should keep reading.

"Life shrinks or expands in proportion to one's courage." 
~Anais Nin

Right now I am telling myself that the KingsCraft is my "practice" boat.  I will live on her for a few years to determine if living aboard a boat is really the life for me.  There is still this nagging voice in the back of my mind that reminds me that there are no dress rehearsals in life, and no guarantees of tomorrow.  I remind myself that saying, "someday," is the most dangerous thing one can do.

Things are progressing nicely.  I should be satisfied by that.  I just hope this boat is finished in time; I am feeling a little itchy...

"A ship is safe in harbor, but that's not what ships are built for."
~John A. Shedd


Thursday, December 20, 2012

Dreams and Achievement (walls and ceiling)...

The only difference between dreams and achievements is hard work. 
~Chris Bollwage 

The work continues.

I have two engines in my boat. They are accessible via a hatch on the back deck of the boat, but they must also be accessible from inside the boat. This means that the walls must be built accordingly.

We decided to build box seats around the engines. These will double as benches for seating (and the pups will be able to jump up onto them and see out the back window). Here is what they look like so far:
In this pic, the tops were not finished yet (these are just pieces of wood sitting there)

In the pics above, you can see that the engines will be easily accessible with the tops off of the boxes.

Just a few days later, the tops were finished...and here is how they look now:
I plan to have a cushion made for the top of the box.  This will be a nice lookout post for the pups!

We may add a shallow (3-4 inch) tray that will fit down into (but hang even with) the top of the boxes.  This would serve as additional storage, help muffle engine sound, and act as additional insulation.  Once the boat is renovated, I think each year will bring additional projects and improvements (like this one)

Also exciting is the ceiling in the aft has been installed:

The walls of the closet and head are also in place:

This is such a fun time of progress.  I still have not been able to flip up a switch and have a light come on, and I absolutely can't wait to see the beams on the ceiling...but we are getting closer and closer to making my "dreamboat" a reality!

Sunday, December 9, 2012

A peek inside...

"True happiness comes from the joy of deeds well done, the zest of creating things new."
~Antoine de Saint-Exupery

Since the day I bought this boat (back in March), I have been looking forward to the day when we would start building.  There was so much demolition that needed done.

Now the building is well underway, and I am beyond excited!

I wanted to take a moment to look back and compare how things look now with how they looked the first time I walked through the boat.

Let's look at the stairs between the galley and the salon.  Here they were as I first saw them:

And here they are now (stained mahogany):

The treads of the stairs lift up to allow for additional storage.  In the old stairs, this was wasted space:

Here is a side-by-side comparison:

This is a view standing in the salon and looking down toward the galley.  We  are using birch for the walls and ceiling, and mahogany for the trim.  We aren't finished yet...we haven't put the finished floor in (it will be mahogany), and the dinette is still very rough (it will be polyurethaned on the outside, and the seats will be upholstered (maybe in black?), and the ceiling will be coffered with mahogany.

A closer look at the ceiling...the old ceiling was covered with those white, plastic sheets you often see on shower walls.  Many boats have white ceilings, so it was a traditional look done inexpensively.  It was moldy and looked cheap:

And here is a close-up of the old air conditioners:

And the new ceiling (not finished yet).  We used birch to cover the ceiling.  You can see the holes and wires that are ready to hold my new stainless recessed can lighting.  Also, the ceiling will be coffered with mahogany beams (there is a pic below that shows what it will look it):

Another angle of the ceiling:

And here is the nice, new air conditioner.  In this pic, you can better see the seams of the wood sheets.  These will all be covered with the coffered beams, so that the birch will be divided into 6 sections.

This is the "vision" pic.  It is NOT my boat, but it is the look we are going for.  You can get an idea of how the ceilings will look once the mahogany beams are in place.  The floor of my boat will be a solid color (mahogany), not the striped look of this teak and holly floor (maybe someday).

And these are the light fixtures that will be installed in the ceiling:

Here is another before shot.  The counter tops were white formica.  The panel was dark, warped with moisture and moldy.  The floor boards were rotted through.

In this pic, you can see the condition of the paneling and the floor (looking at these pictures now I just shake my head that I actually took this project on):

And here is the same area.  New everything.

The progress on the boat is happening fast now, and it is very exciting to see it all take shape.  I know that I have recommended my contractor several times in this blog already, but bear with me as I do it again.  If you have need of a contractor (not just for boats, but your home, office, etc.), I do highly recommend Jerry Williams with twin hills construction, LLC:  513.293.7744 or jwilliams209@cinci.rr.com.


Seeing her restored to a beautiful condition is very exciting.  While this has been (and continues to be) a huge project, it has brought me lots of happiness--doing the job well and bringing newness to her is very rewarding!

Saturday, December 8, 2012

Becoming my boat


"Create your own visual style...let it be unique for yourself and yet identifiable for others."
~Orson Welles

When you look out into the marina, it is easy to spot the one orange boat.  She stands out.  

Finally, we finished painting her!  It took 5 coats of paint to cover the dark green.  Because weather did not cooperate, it took quite a while to get all 5 coats on (in hindsight, I should have sanded off more of the green).  

After the painting was finished, it was time to remove the tape.  This was not an easy job--it had been left on for too long.  We used green tape, blue tape and the traditional beige masking tape.  The type of tape really didn't have much effect on how easy/difficult it was to remove.  What did make a difference was the amount of exposure to the sun.  The tape on the shady side of the boat was much easier to remove.  Also, the tape that was completely covered with paint was easier to remove.

In this pic, the easiest tape to remove was the tape in the middle (because it was completely covered with paint).  The tape on the top was the most difficult--it was not covered with paint, and it was folded over the edge of the boat:


Luckily, I had help removing the tape:
These are my friends Nancy and Beth.  This was such a tedious job, and I was so thankful for their help!

There were two areas we changed the design of the stripes:

1)  We widened the bottom stripe on the top of the boat so that it was parallel with the rest of the stripes: 
This is her with the green paint.  Notice the stripe on the bridge (the very top)...
The stripe on the bridge is widened--the bottom of the stripe is parallel to the lines of the boat.

2) We painted the triangle between the low stripes and high stripes to make the color flow better:
Here it is before we painted the triangle (it was taped off in this pic, though)
And here it is with the triangle painted.  I like the way it makes the stripes look more continuous.

There is some sticky residue left from the tape in some places.  I think I will try goo gone to see if it comes off without damaging the paint.

Overall, I really like the orange, and I am happy with the finished product!  She will look great when we add the new graphics with her name in the Spring:

Another thing to celebrate is that the contract I have with the previous owner is just about fulfilled--and the title is now in my name!  

The interior is moving along, too.  More on that in my next post...But, like the outside, the inside will have its own visual style.  It will be unique, as well!