I can't tell you how important it is to ask questions and push for certainty. When I first looked at the boat, there was a lot of very obvious water damage. She had been sitting in the slip for years with little to no attention...and aluminum boats sweat (just like a beer can). While I was told that the water damage was due only to condensation, it paid off to explore this and push through to certainty.
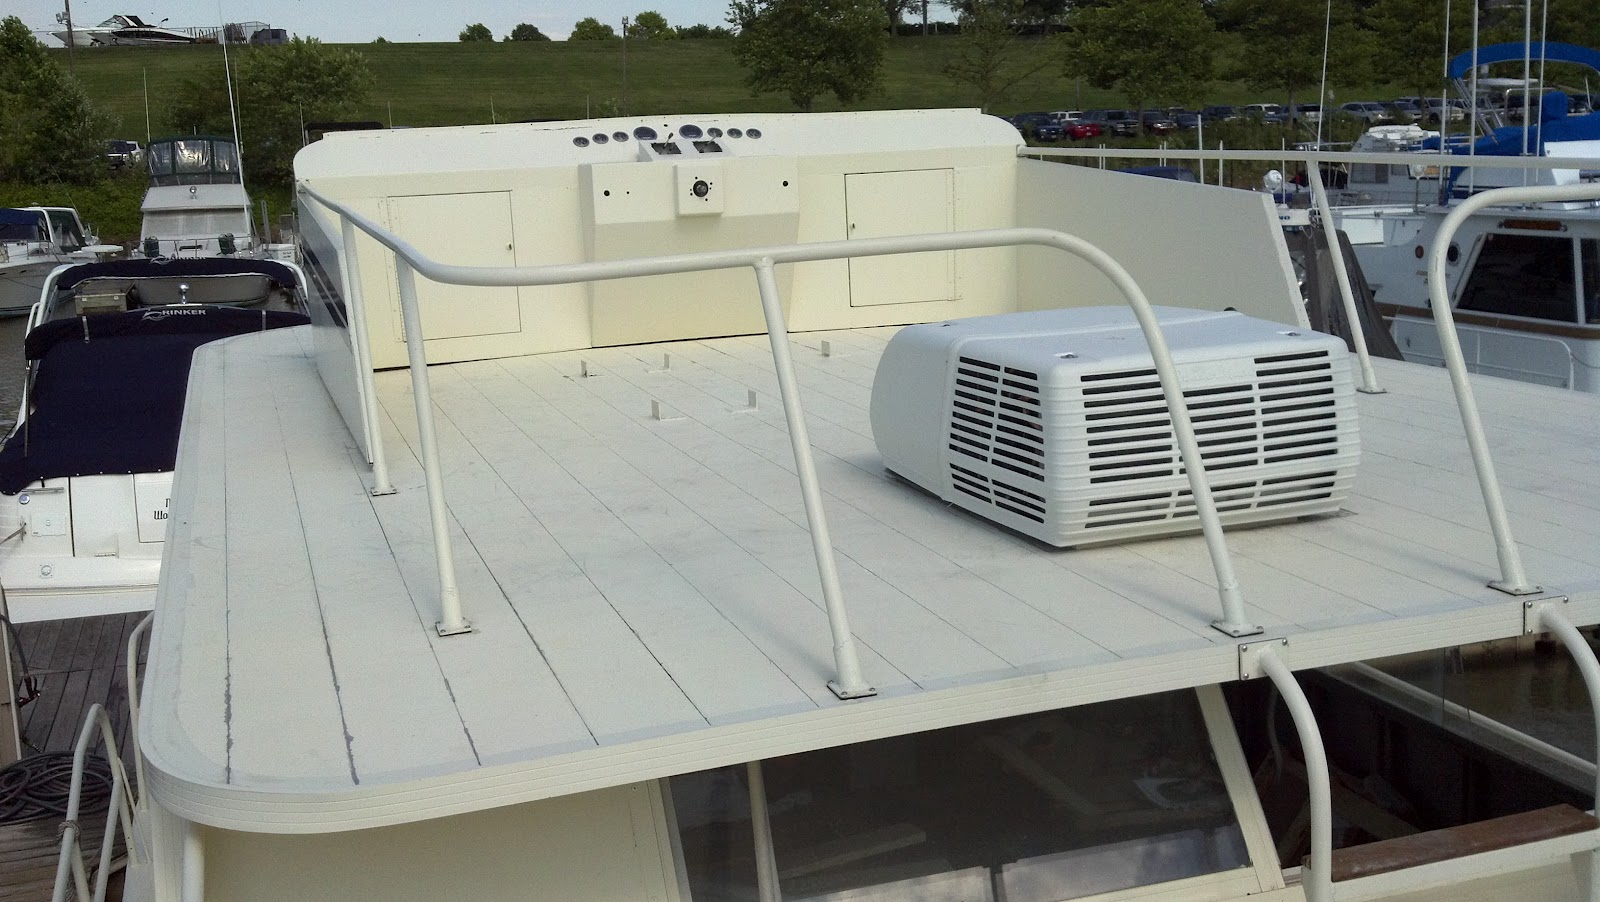
Once the boat was gutted, all it took was to stand inside the boat during a storm to pinpoint the leaks (the challenge is that there seems to be lots of them). We determined that the 6 inch wide aluminum beams which make up the bridge (and the ceiling of the salon), the roof over the front deck and the floor of the front deck needed to be re-sealed. The big question: "what is the best way to do that?" There are as many opinions as there are people to ask.
I decided that I would just get Rhino-lining applied, and be done with it forever. I called to ask about the process, and I learned that the chemicals used are extremely toxic when wet. This process can only be done on their property, inside a large garage. Well, since I have never heard the engines on the boat, this presented a problem. It is also $18.50 per square foot, so for a boat the size of mine with many levels of decking and catwalks, this would be very expensive (I still may consider it at some time in the future).
The person I spoke with on the phone had another idea for me...which is what we ended up doing.
First task on my list was to get the tools needed for the job. When I went to buy urethane seam sealer, the clerk picked out a tube for me. It said "seam sealer" on the label, but it did not specify anywhere on the bottle that it was urethane. I asked the clerk if it was, and he replied in the positive. I pushed a little and asked how he knew it was. He read the label, made a phone call, then said, "actually, this is not urethane." He had to get the urethane seam sealer from the warehouse. Once more, it paid off to ask.
Also, this job had the very happy side effect of giving me an excuse to buy a Dremel:

When he saw what I was doing, he recommended I wait until I could borrow a tool he had with a very thin wheel that would get down into each seam. I held up a wheel attachment that I had for the Dremel and we gave it a try. It worked perfectly! I used the metal cutting wheel and ran it straight through every seam. It cleaned the old paint and old sealer out and left clean, exposed metal:


I was also thankful for Melanie's knee pads. I can't imagine how sore my knees would have been without them!

It took about 14 hours, but finally all of the seams were sanded:

Next, I washed the seams with soap and water:


After washing the bridge, I went down to the salon to see if the leaking had increased (demonstrating that the seals were the source of the leaks), and the leaking had drastically increased! Strange to be happy to see your boat leak, but I knew this meant that the seams were the source and that I had gotten a lot of the paint and old sealer out:

Now I needed to clean each seam with a solvent approved for use with this type of seam sealer. Another area in which I had to ask lots of questions to get the right chemical:

The next part of this job was very tedious. Gregg helped me apply the urethane seam sealer. He applied the sealer, and I smoothed it out with my finger. This stuff is sticky and not fun to work with. I have to admit that I was a bit grouchy throughout this part of the job--again, it was over 90 degrees--(and Gregg was very patient):


I think I am close to getting a quote on covering the green stripes with orange (2 out of 3 places that I called recommended I paint them). I should know what the 3rd place says soon, but it sounds promising. If they can do it, they will also add her new name (name change ceremony may be soon)!
The orange mesh may be added soon, too. I am very excited to see her new colors, and I'm keeping my fingers crossed that it happens soon!
"Orange is the happiest color." ~Frank Sinatra
Great blog entry Miss Tracy! Looks like a lot of work!! So, who did you say was the good looking guy in a few of the pics? Stay on it. You're doing an amazing job!!!
ReplyDelete